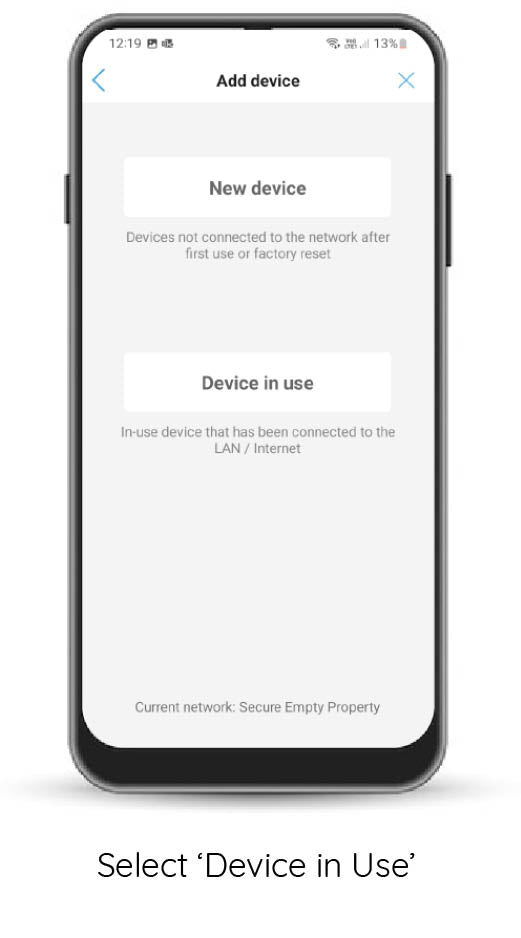
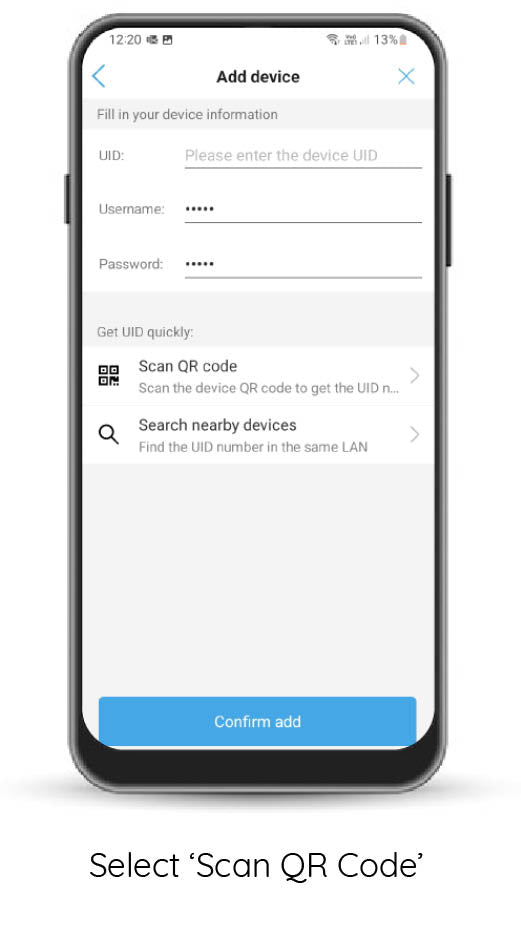
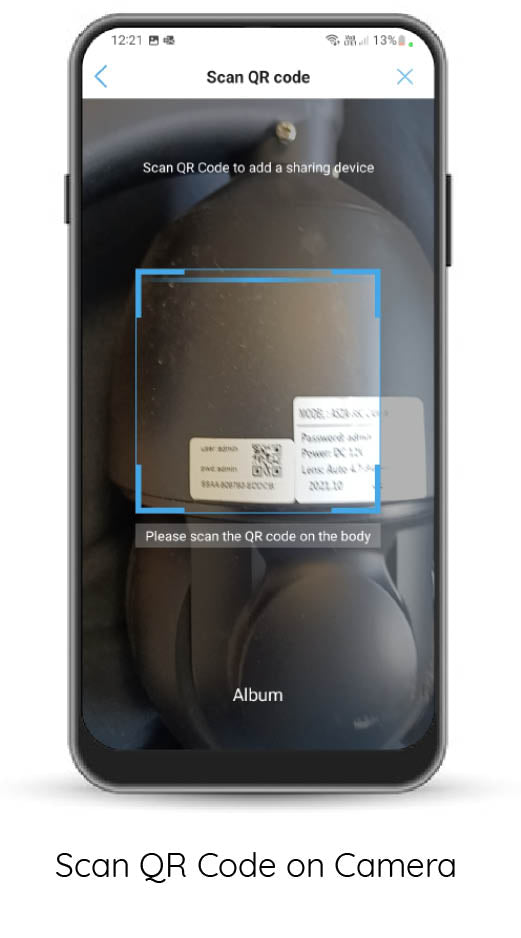
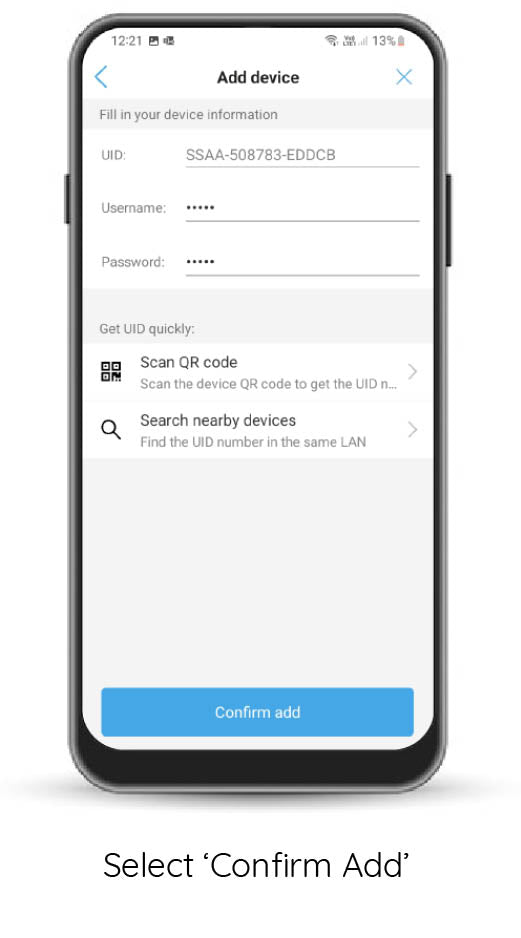
CLS Static Wi-Fi Camera Set Up Guide.
Step 1.
Screw the aerial onto the camera without overtightening.
Step 2.
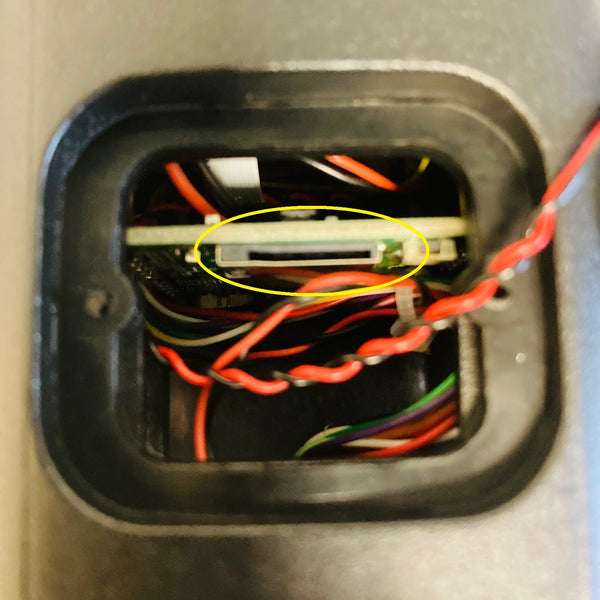
Remove the rectangular access panel with a screwdriver from the bottom of the security camera.
Insert your SD card (optional) as shown in the photo.
The SD card should gently click into place.
Make sure the access panel is securely screwed back down to ensure water resistance.
Step 3.
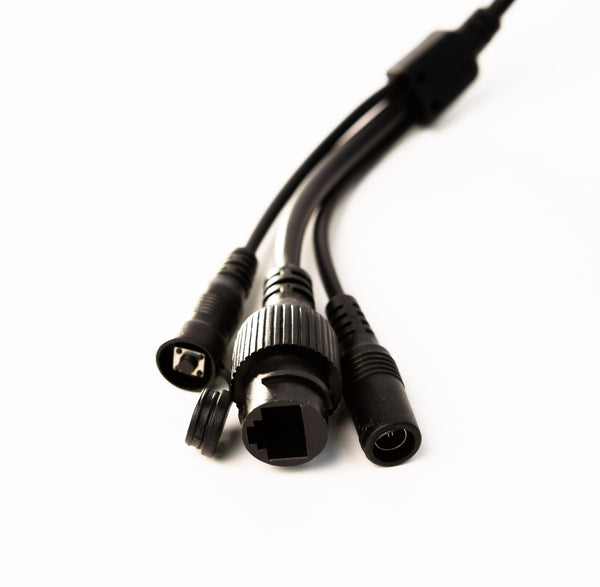
Use the DC barrel to connect the security camera to the power supply (Pictured far right).
If you are using the 12V leisure battery connection leads, you will not need to use the camera's power supply adapter.
Step 4.
On your phone or tablet go to the App / Google Play store and download the CamHipro app.
Open the app and grant permission.
Go to the Wi-Fi settings on your device and connect to the network named IPCAM***
The password is 01234567
When connected go back to the Camhipro app.
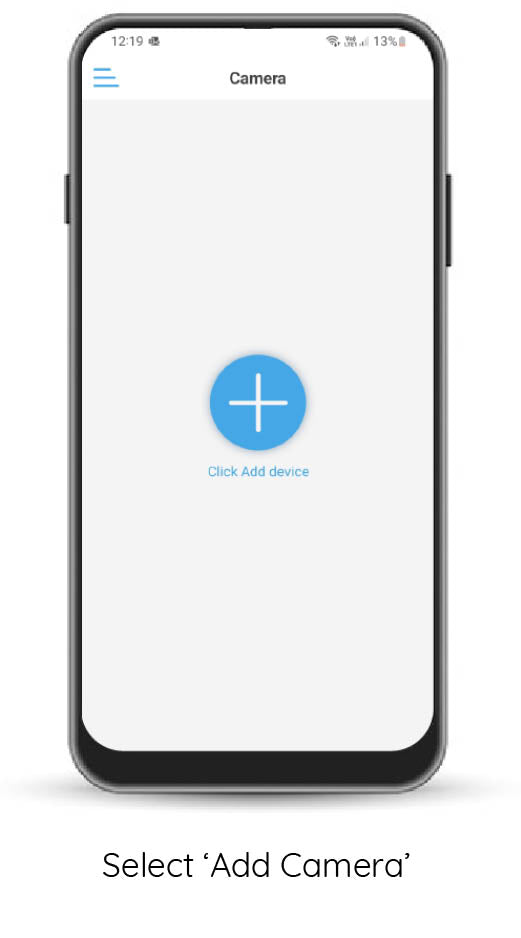
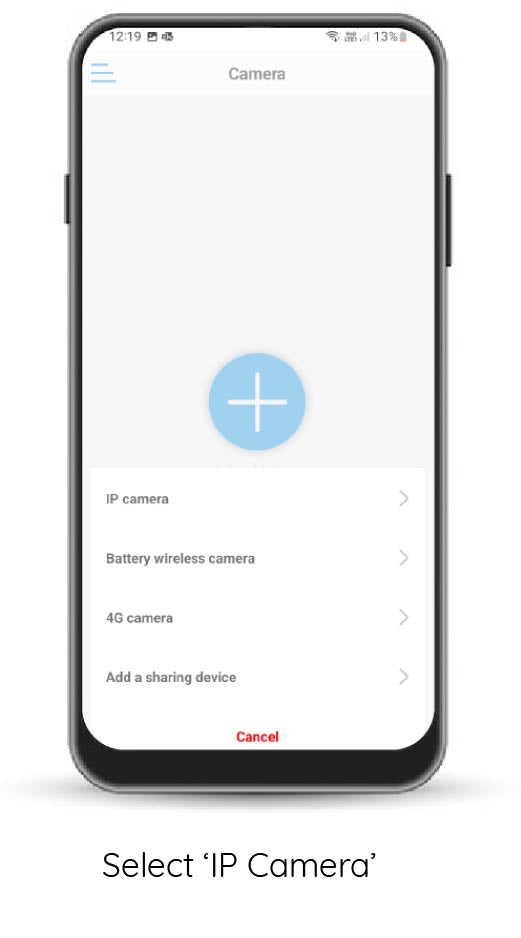
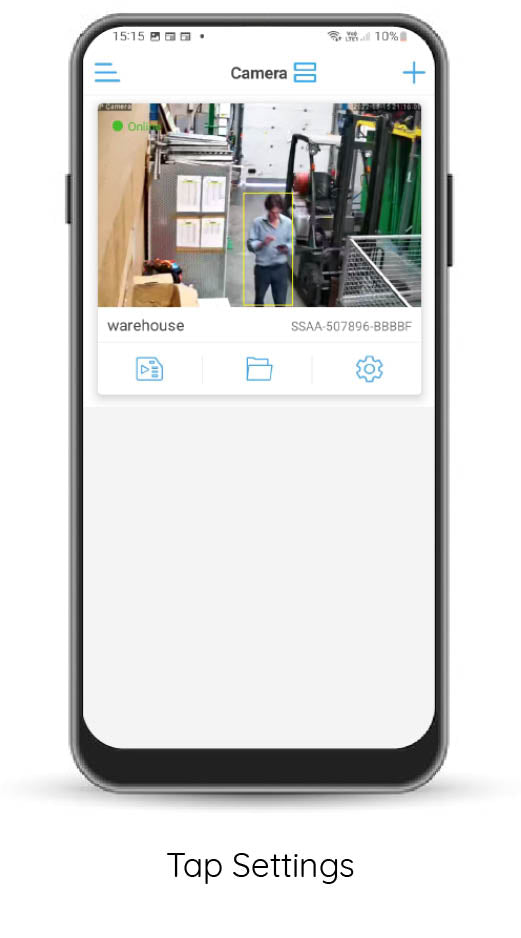
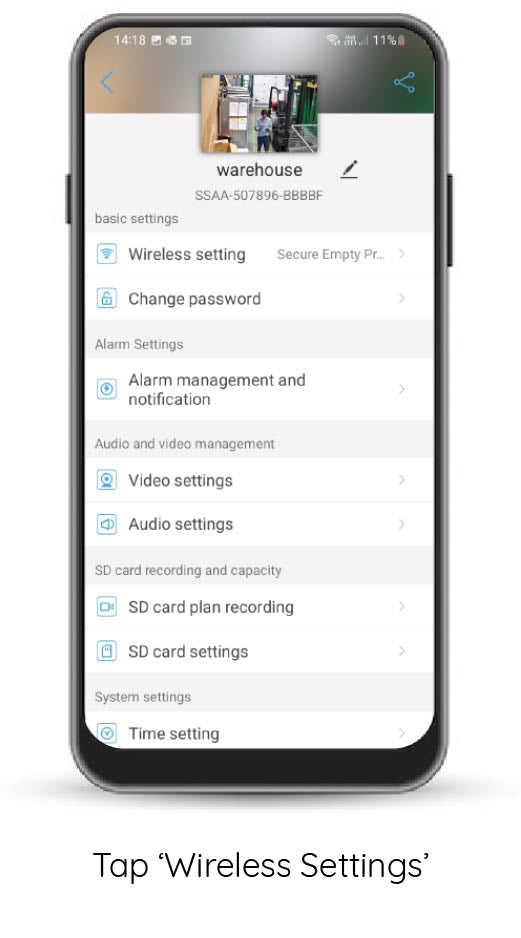
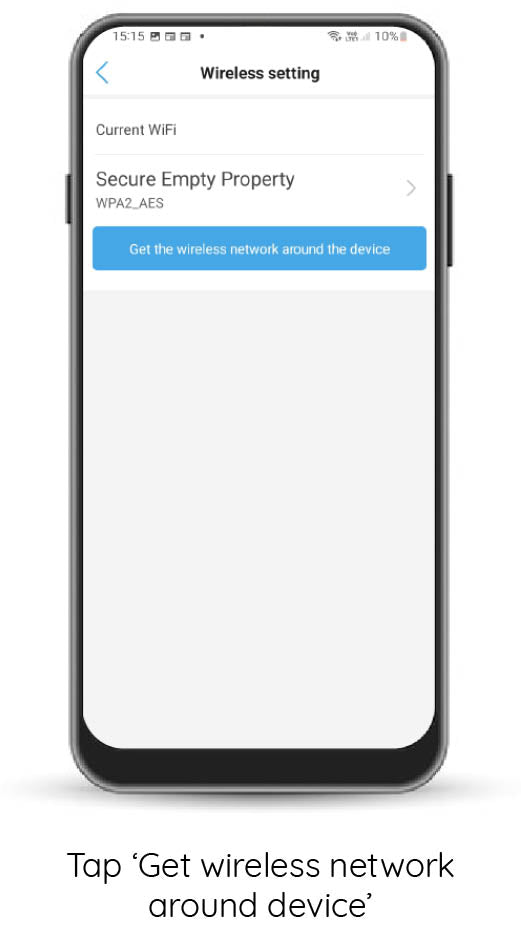
Step 5.
Complete the steps below and connect to your chosen Wi-Fi network.
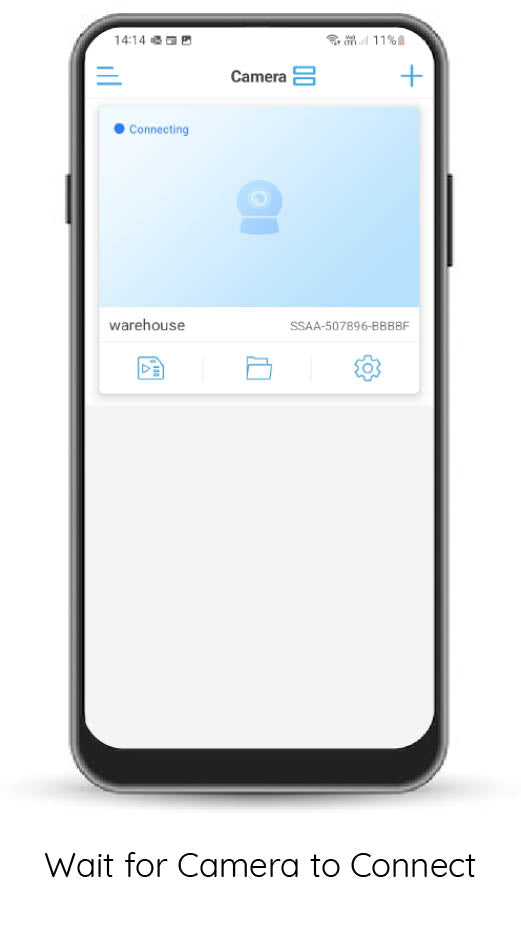
Your camera will now be connected to your Wi-Fi. This can take up to 30 seconds.
Step 6.
Install your camera in your chosen location with internet connection and re-connect to the power.
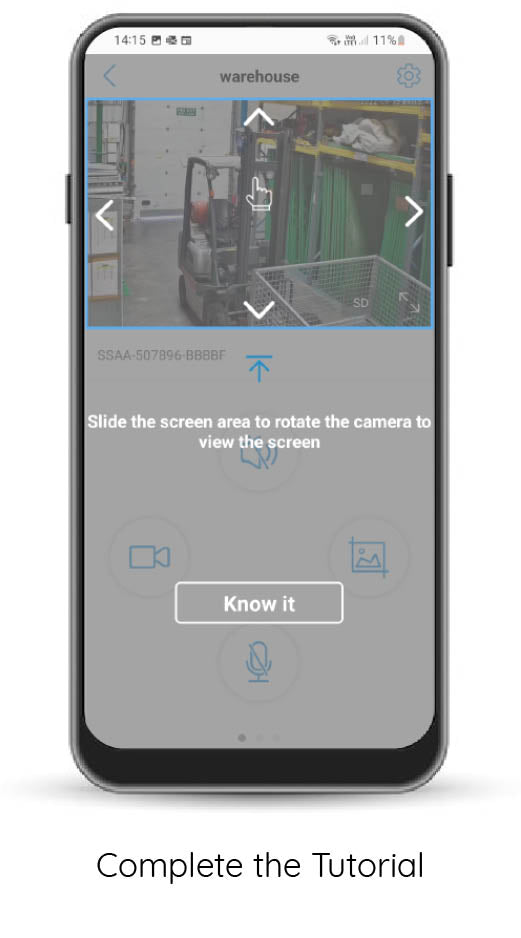
Using your Static Wi-Fi Camera
To zoom your static camera, place your finger and thumb in the middle of the screen and pinch them together.
The camera defaults to SD ‘standard definition' when installed, click on SD to change to HD for higher quality.
Within the app menu you will find recording/photo options along with the zoom function
Your camera will auto-focus, don’t use the manual-focussing found within the zoom option